xLAN is a tunneling program for Xbox System Link. Much like XBC and XLink Kai, xLAN allows players to tunnel Xbox system link traffic over the Internet. Read on for information on how to use xLAN as well as troubleshooting steps.
xLAN
Is xLAN a replacement to XLink Kai?
Not quite. While xLAN and XLink Kai do have similar basic functionality, they have different uses and are for different people. xLAN only supports the original Xbox (and, to a lesser extent, the Xbox 360). XLink Kai supports the original Xbox, Xbox 360, PlayStation 2, Playstation 3, GameCube, and PlayStation Portable.
Why use xLAN instead of other alternatives?
xLAN was designed with the future in mind. Since it doesn’t require a connection to a master server in order to function, xLAN can never be “shut down” or “hacked” as was the case with XBC. The only dependency it has is the connection to the Channel List server. This Channel List is a great feature that allows players to join each other’s lobbies by selecting from a list (or connecting via channel name), but is not required as players will always have the option to connect to each other via direct IP.
Furthermore, there is no chance that some xLAN system failure will cause interruptions in-game. Once players are in a lobby, they are connected to each other directly and not through any master server. Any problems encountered in-game can safely be blamed on the network instead of some remotely hosted infrastructure (no more “Detached from engine” or “Orbital sync lost” errors as seen when using XLink Kai).
Additional Software Requirement: WinPcap
Download WinPcap
IMPORTANT NOTE: Npcap is NOT compatible with XLAN at this time and you may encounter issues hosting and loading the channel list. Use WinPcap.
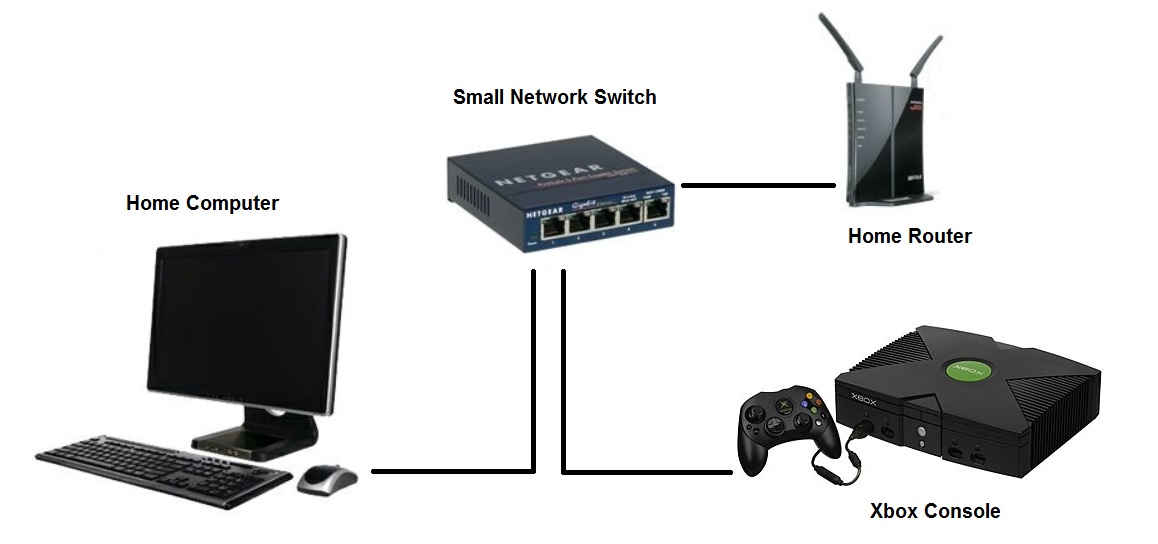
Network Setup
You will also need to forward port 5000 to your PC. See http://www.portforward.com/ for instructions (search for your router’s specific instructions)


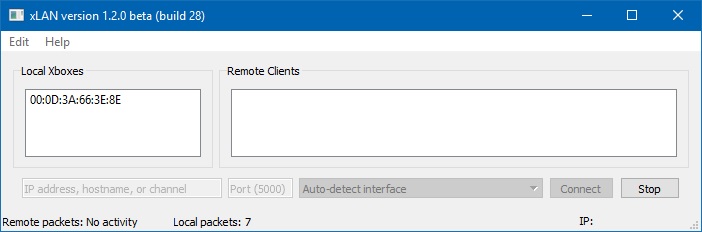
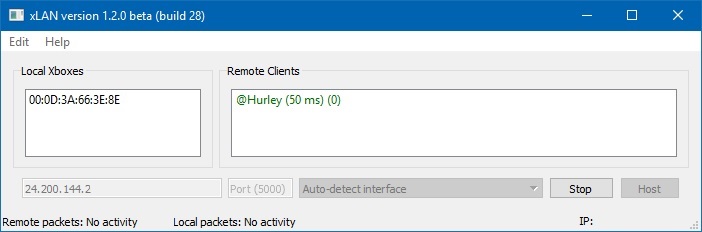
Step 3: You should now be in the channel. You can now see your local Xbox’s physical address (MAC address) in the Local Xboxes panel, and the host’s information (including your ping to the channel) in the Remote Clients panel.
On your Xbox, you should now see the host’s lobby in the System Link Games menu.
To disconnect from a channel, simply click the Stop button.
IMPORTANT NOTE: Npcap is NOT compatible with XLAN at this time and you may encounter issues hosting and loading the channel list. Use WinPcap.
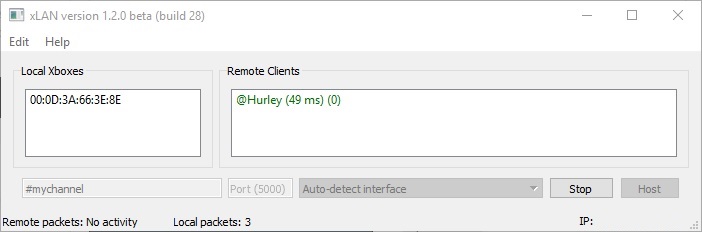

Step 2: You should now be in the channel. You can now see your local Xbox’s physical address (MAC address) in the Local Xboxes panel, and the host’s information (including your ping to the channel) in the Remote Clients panel.
On your Xbox, you should now see the host’s lobby in the System Link Games menu.
To disconnect from a channel, simply click the Stop button.
Joining a Channel: Join via Direct IP
Step 1: The channel host will need to provide you with their public IP address. Channel hosts can find their public IP in the bottom right corner of the xLAN window, or by visiting this page: http://halo1hub.com/xbawks
Once you know the host’s public IP address, simply enter it into the text field and click the Connect button

Step 2: You should now be in the channel. You can now see your local Xbox’s physical address (MAC address) in the Local Xboxes panel, and the host’s information (including your ping to the channel) in the Remote Clients panel.
On your Xbox, you should now see the host’s lobby in the System Link Games menu.
To disconnect from a channel, simply click the Stop button.
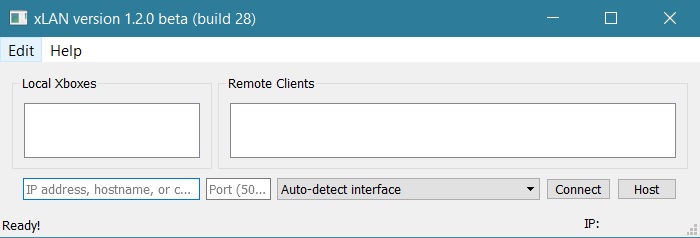
Hosting a Channel
To set a channel name, simply click the Edit menu > Settings… and enter a name into the Channel name field. You can also optionally specify a maximum ping limit, hide your channel from the list, and enable the ping balancing feature.
Do not modify the Master Server settings (including the ports) unless you know what you are doing.
When you are finished, click the Save button

Your channel is now up and other players should be able to join via channel name or direct IP. Other clients can be seen in the Remote Clients panel on the right, and your local Xbox can be seen in the Local Xboxes panel. If you don’t see your Xbox in the Local Xboxes panel, navigate in-game to the System Link Games screen.
To stop hosting the channel, simply click the Stop button
IMPORTANT NOTE: Npcap is NOT compatible with XLAN at this time and you may encounter issues hosting and loading the channel list. Use WinPcap.